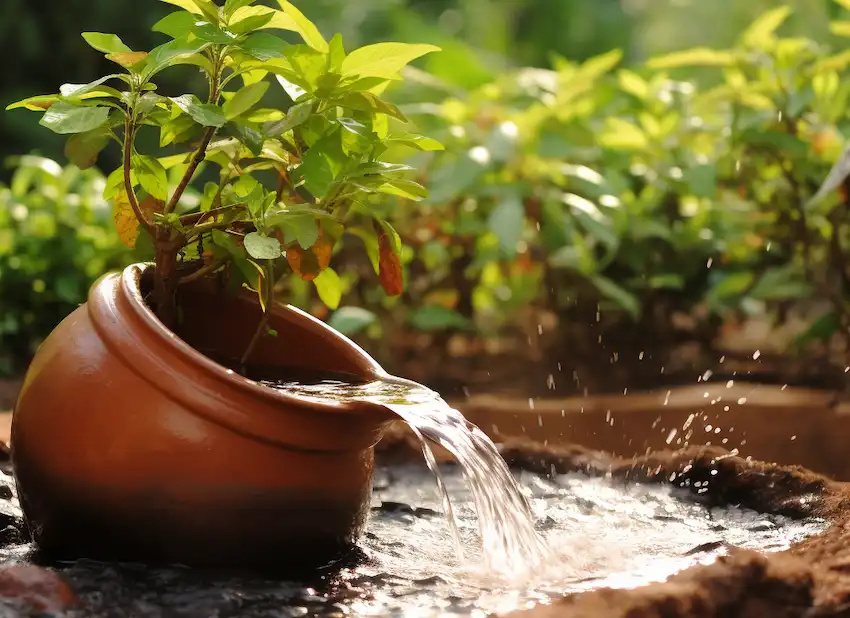
1. Efficient Water Usage:
Olla irrigation is renowned for its efficiency in water usage. The porous nature of unglazed clay ollas allows water to seep slowly into the soil, targeting the root zone directly. This method minimizes water loss due to evaporation and runoff, leading to significant water savings over time.
2. Promotes Healthy Root Systems:
The consistent moisture provided by ollas promotes deep and dense root growth, facilitating better nutrient and water uptake. This is particularly beneficial for plants like squash, melons, tomatoes, and chiles, which have fibrous root systems.
3. Reduces Weeds and Pests:
Since the soil surface remains relatively dry, olla irrigation can help prevent the growth of weeds and reduce certain unwanted insect populations.
4. Low Maintenance and Cost-Effective:
Ollas require minimal maintenance once set up and can be an economical option compared to more complex irrigation systems.
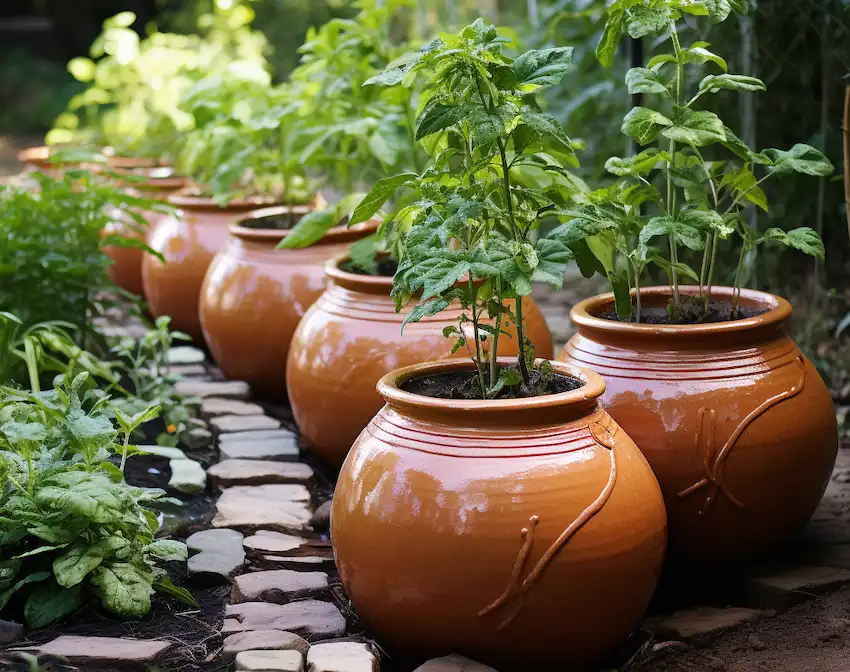
5. Versatility:
Ollas are suitable for a variety of gardening settings, including raised beds, in-ground gardens, containers, and even for perennial landscape plants.
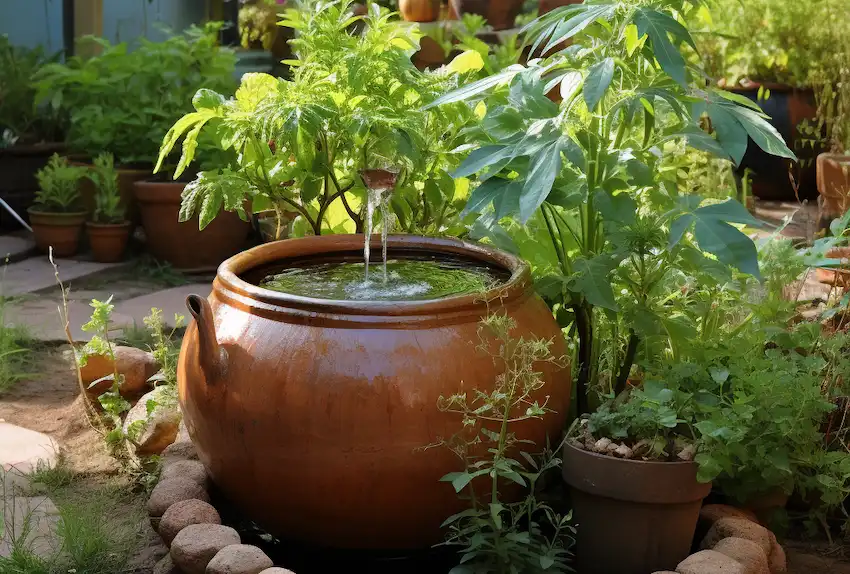
6. Aesthetic Value and Cultural Significance:
Beyond their practical benefits, ollas can add an aesthetic element to gardens and carry a rich cultural history, having been used for centuries in various communities.
7. DIY Friendly:
For those who enjoy DIY projects, ollas can be made at home using basic terra-cotta pots and can be customized to fit specific garden needs.
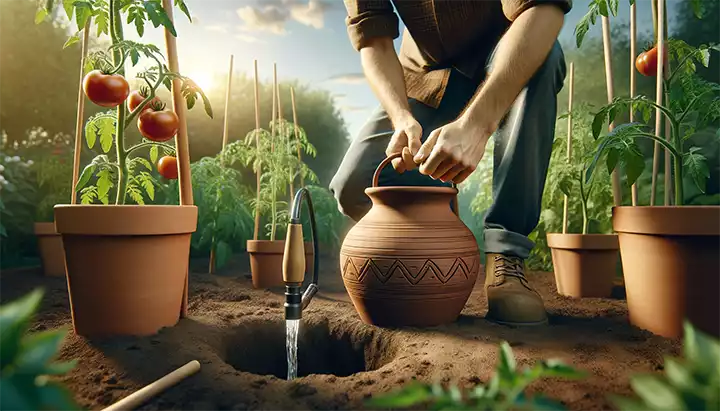
Setting Up Your Olla Irrigation System
- Choose the Right Olla: Select an olla based on the size of the area you wish to irrigate. For instance, a 1-quart olla covers a 1-foot diameter area.
- Placement in the Garden: Bury the olla in the soil, leaving the top few inches exposed. Ensure the soil is packed around the olla to avoid air pockets.
- Planting Around Ollas: Arrange your plants within the effective radius of the olla for optimal watering.
- Refilling and Maintenance: Regularly fill the olla with water. It’s also recommended to inspect your ollas for any damage or cracks.
- DIY Olla Creation: You can create your own ollas by plugging the drainage hole of a terra-cotta pot using materials like beeswax, no-toxic putty, or cement.
- Mulching and Decorative Covers: Applying mulch around your ollas can further reduce water evaporation, and using decorative covers can enhance the garden’s visual appeal.
- Additional Tips: It’s advisable to hand-water plants initially until their roots grow towards the olla. Use a saucer or lid to cover the olla to prevent mosquito breeding and evaporation.
Incorporating olla irrigation into your garden can be a highly effective and sustainable way to maintain your plants while conserving water and reducing maintenance efforts. This method is not only rooted in ancient wisdom but is also adaptable to modern gardening practices.
Inspired by this? Share the article with your friends!